Android Application that writes data to the SD Card
Aim:
To develop a Android Application that writes data to the SD Card.
Procedure:
Creating a New project:
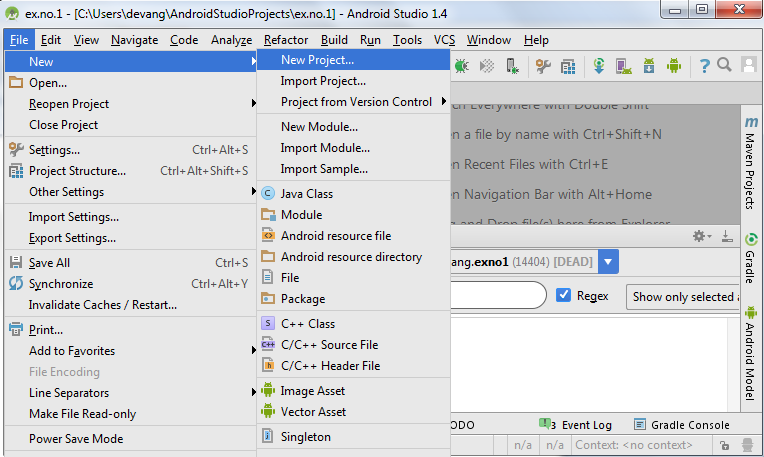
- Open Android Studio and then click on File -> New -> New project.
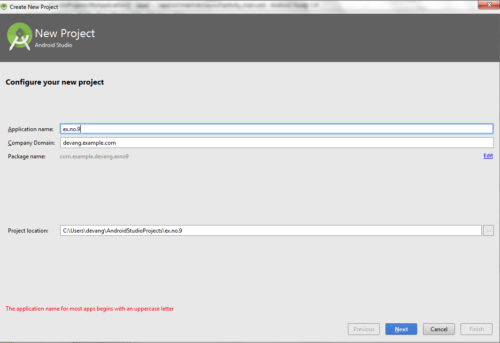
- Then type the Application name as “ex.no.9″ and click Next.
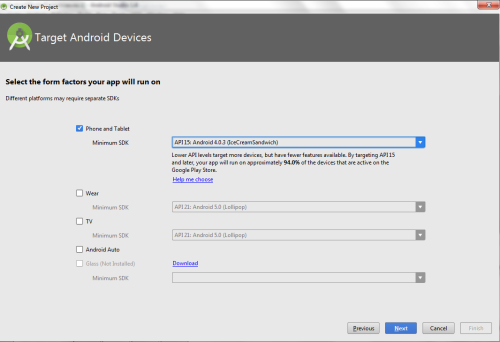
- Then select the Minimum SDK as shown below and click Next.
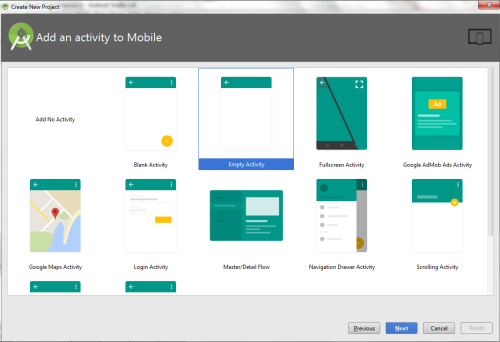
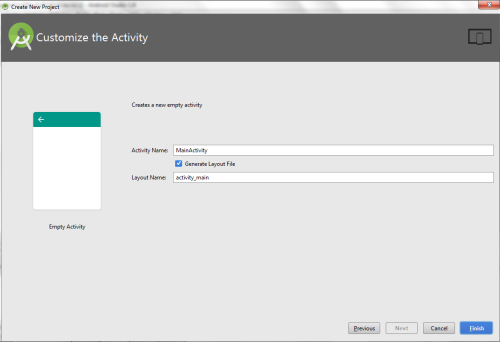
- Then select the Empty Activity and click Next.
- Finally click Finish.
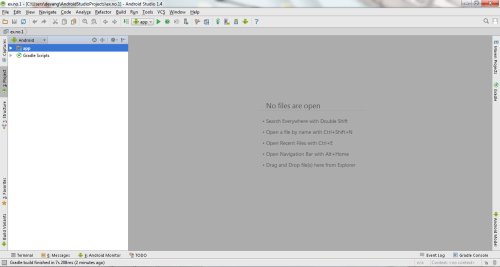
- It will take some time to build and load the project.
- After completion it will look as given below.
Designing layout for the Android Application:
- Click on app -> res -> layout -> activity_main.xml.
- Now click on Text as shown below.
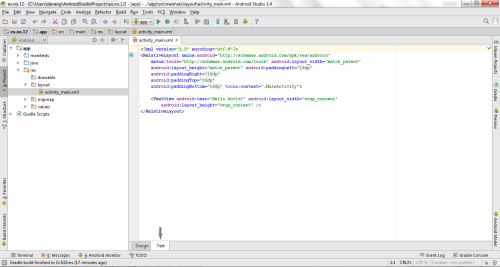
- Then delete the code which is there and type the code as given below.
Code for Activity_main.xml:
<?xml version="1.0" encoding="utf-8"?>
<LinearLayout xmlns:android="http://schemas.android.com/apk/res/android"
    android:layout_width="match_parent"
    android:layout_height="match_parent"
    android:layout_margin="20dp"
    android:orientation="vertical">

    <EditText
        android:id="@+id/editText"
        android:layout_width="match_parent"
        android:layout_height="wrap_content"
        android:singleLine="true"
        android:textSize="30dp" />

    <Button
        android:id="@+id/button"
        android:layout_width="match_parent"
        android:layout_height="wrap_content"
        android:layout_margin="10dp"
        android:text="Write Data"
        android:textSize="30dp" />

    <Button
        android:id="@+id/button2"
        android:layout_width="match_parent"
        android:layout_height="wrap_content"
        android:layout_margin="10dp"
        android:text="Read data"
        android:textSize="30dp" />

    <Button
        android:id="@+id/button3"
        android:layout_width="match_parent"
        android:layout_height="wrap_content"
        android:layout_margin="10dp"
        android:text="Clear"
        android:textSize="30dp" />

</LinearLayout>
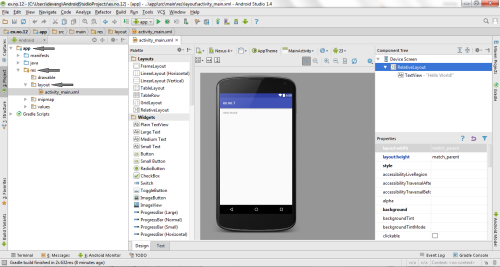
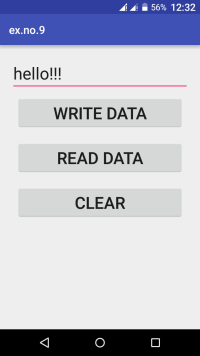
- Now click on Design and your application will look as given below.
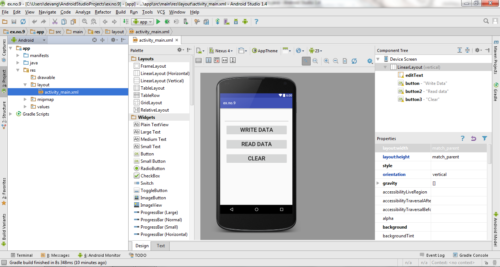
- So now the designing part is completed.
Adding permissions in Manifest for the Android Application:
- Click on app -> manifests -> AndroidManifest.xml
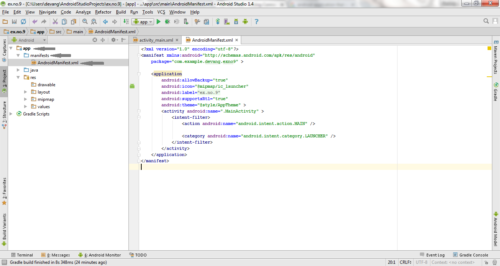
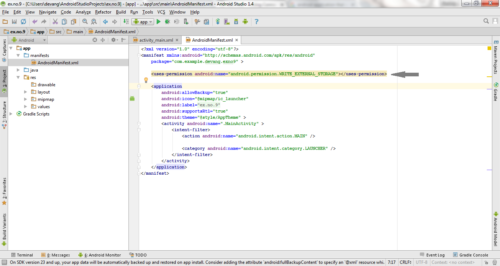
- Now include the WRITE_EXTERNAL_STORAGE permissions in the AndroidManifest.xml file as shown below
Code for AndroidManifest.xml:
<?xml version="1.0" encoding="utf-8"?>
<manifest xmlns:android="http://schemas.android.com/apk/res/android"
    package="com.example.exno9" >

    <uses-permission android:name="android.permission.WRITE_EXTERNAL_STORAGE"></uses-permission>

    <application
        android:allowBackup="true"
        android:icon="@mipmap/ic_launcher"
        android:label="@string/app_name"
        android:supportsRtl="true"
        android:theme="@style/AppTheme" >
        <activity android:name=".MainActivity" >
            <intent-filter>
                <action android:name="android.intent.action.MAIN" />

                <category android:name="android.intent.category.LAUNCHER" />
            </intent-filter>
        </activity>
    </application>
</manifest>
- So now the Permissions are added in the Manifest.
Java Coding for the Android Application:
- Click on app -> java -> com.example.exno9 -> MainActivity.

- Then delete the code which is there and type the code as given below.
Code for MainActivity.java:
package com.example.exno9;
import android.os.Bundle;
import android.support.v7.app.AppCompatActivity;
import android.view.View;
import android.widget.Button;
import android.widget.EditText;
import android.widget.Toast;
import java.io.BufferedReader;
import java.io.File;
import java.io.FileInputStream;
import java.io.FileOutputStream;
import java.io.InputStreamReader;
public class MainActivity extends AppCompatActivity
{
EditText e1;
Button write,read,clear;
@Override
protected void onCreate(Bundle savedInstanceState)
{
super.onCreate(savedInstanceState);
setContentView(R.layout.activity_main);
e1= (EditText) findViewById(R.id.editText);
write= (Button) findViewById(R.id.button);
read= (Button) findViewById(R.id.button2);
clear= (Button) findViewById(R.id.button3);
write.setOnClickListener(new View.OnClickListener()
{
@Override
public void onClick(View v)
{
String message=e1.getText().toString();
try
{
File f=new File("/sdcard/myfile.txt");
f.createNewFile();
FileOutputStream fout=new FileOutputStream(f);
fout.write(message.getBytes());
fout.close();
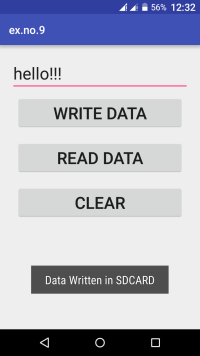
Toast.makeText(getBaseContext(),"Data Written in SDCARD",Toast.LENGTH_LONG).show();
}
catch (Exception e)
{
Toast.makeText(getBaseContext(),e.getMessage(),Toast.LENGTH_LONG).show();
}
}
});
read.setOnClickListener(new View.OnClickListener()
{
@Override
public void onClick(View v)
{
String message;
String buf = "";
try
{
File f = new File("/sdcard/myfile.txt");
FileInputStream fin = new FileInputStream(f);
BufferedReader br = new BufferedReader(new InputStreamReader(fin));
while ((message = br.readLine()) != null)
{
buf += message;
}
e1.setText(buf);
br.close();
fin.close();
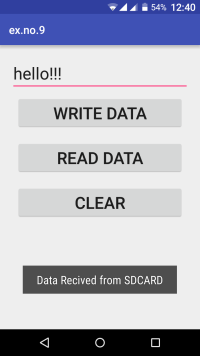
Toast.makeText(getBaseContext(),"Data Recived from SDCARD",Toast.LENGTH_LONG).show();
}
catch (Exception e)
{
Toast.makeText(getBaseContext(), e.getMessage(), Toast.LENGTH_LONG).show();
}
}
});
clear.setOnClickListener(new View.OnClickListener()
{
@Override
public void onClick(View v)
{
e1.setText("");
}
});
}
}
- So now the Coding part is also completed.
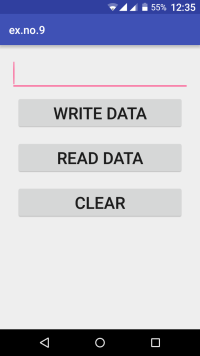
- Now run the application to see the output.
Output:
Result:
Thus Android Application that writes data to the SD Card is developed and executed successfully.